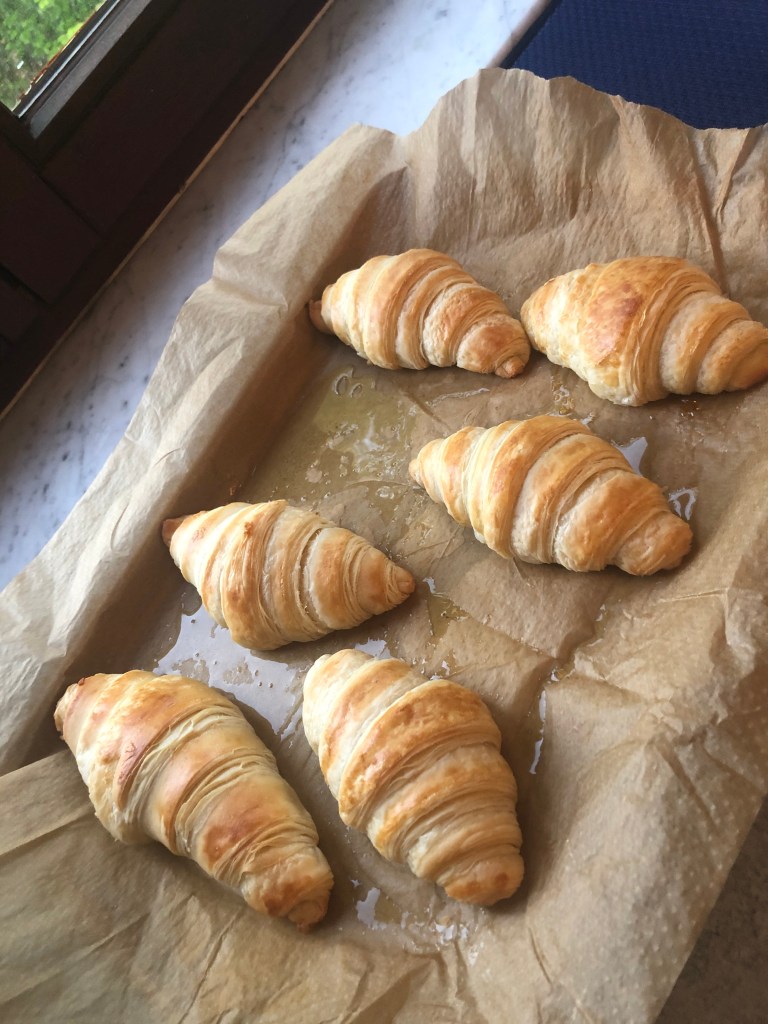
At last I made croissants. I had heard about the long and tedious process that goes into making the perfect croissants and it kept me from trying out my hands on this wonderful flaky and buttery wonder – the french speciality Puff Pastry. Although croissants are technically puff pastries, they are widely treated as breads and generally added to the bread baskets 🙂 as they go so well with the butter, cheese, or jam or chocolate, or nutella…the list is endless.
The process may be long – stretching over to 3 days but the actual time you spend on making these croissants is hardly an hour. You need to be patient to follow all the steps properly and with gentle hands. I have included lots of pictures to help you understand the steps better. My dough got a bit dry as my wrapping was not proper initially, so please excuse the dry dough in the initial steps 🙂


Ingredients
- All Purpose Flour (Maida) – 300 gms (1 and 1/3 cups)
- Butter (Melted) – 25 gms
- Butter (Chilled) for beurrage – 140 gms
- Warm Water – 130 ml
- Sugar – 30 gms (3 tbsp)
- Active Dry Yeast – 6 gms (1 and 1/2 tsp)
- Salt – 4 gms (1 tsp)
- Egg – 1 number (egg yolk and white separated)
- Measuring Tape/Ruler
- Wax/Butter/Baking Paper
Method
Day 1
Make the dough
- Take a small bowl and add 130 ml warm water to it. Add dry yeast into the water and mix with a spoon or a small whisk. Let the mixture sit for 5-10 minutes till the foam comes on the top.
- In a medium sized bowl, add 300 gms of flour, 30 gms of sugar, and 4 gms of salt. Mix the dry ingredients together with a whisk until everything is well incorporated.
- Add the bloomed yeast, egg yolk, and 25 gms of melted butter into the flour mixture.
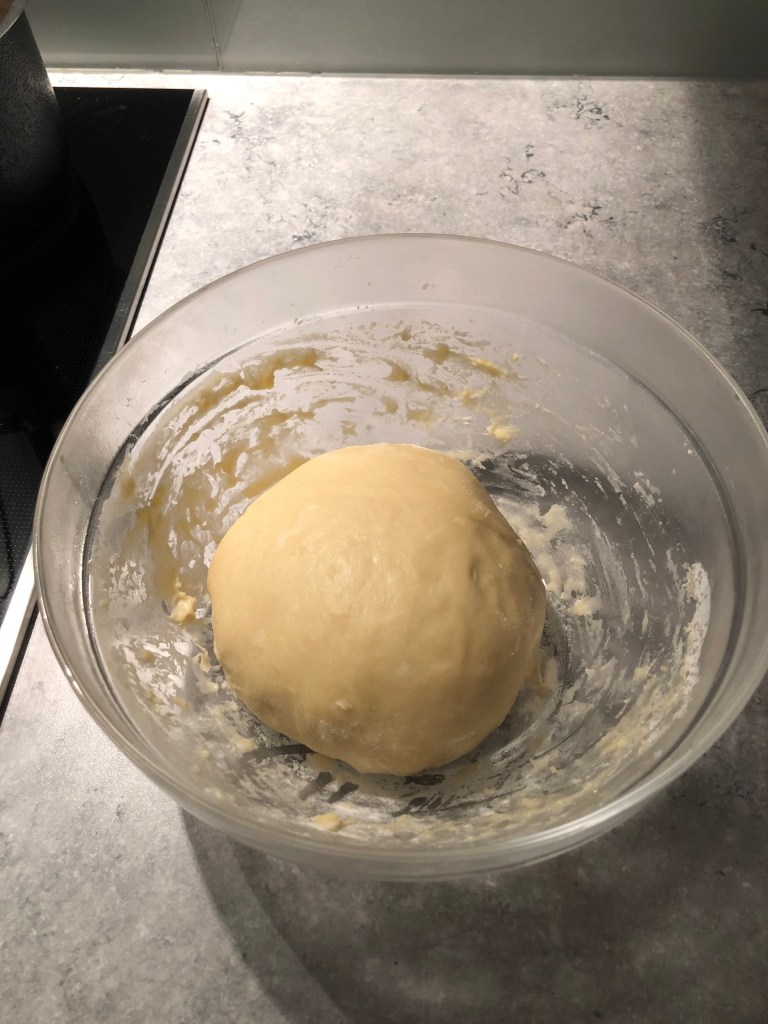
- Mix with a spatula until it forms a smooth dough. Use your hands whenever necessary. Lightly knead the dough until it all starts coming together. It will not take more than 5 minutes. (No need to knead for 10-15 minutes.)
- Drop the dough onto the marble top like a ball 5-6 times until you see a smooth surface.
- Once done, gently shape the dough into a ball and place it in a bowl. Cover it with a plastic/cling wrap and let it rest in fridge for 10 minutes.


First turn
- After 10 minutes, take the bowl out of the fridge and remove the cling wrap. Keep the cling wrap aside as you will use it later.
- Let the dough be in the bowl. Pick one part of the dough ball and stretch the dough upwards and then press it back on to the ball. (This is very similar to how we turn our dry curry in a kadhai from bottom to up from all sides of the kadhai.)
- Pick another part of the dough ball and repeat the same process.
- Go in a circular way along the perimeter of the dough ball and keep doing it until you have turned the entire dough ball upside down.
- Cover the bowl with the cling wrap and keep it in the fridge again for 10 minutes.
Second turn
- After 10 minutes, take the bowl out of the fridge and remove the cling wrap. Keep the cling wrap aside as you will use it later.
- Repeat the steps 8-10 as mentioned above.
- Cover the bowl with the cling wrap and let it rest in the fridge for 25 minutes.
Shaping of the dough
- After 25 minutes, take out the dough and place it on the butter paper.
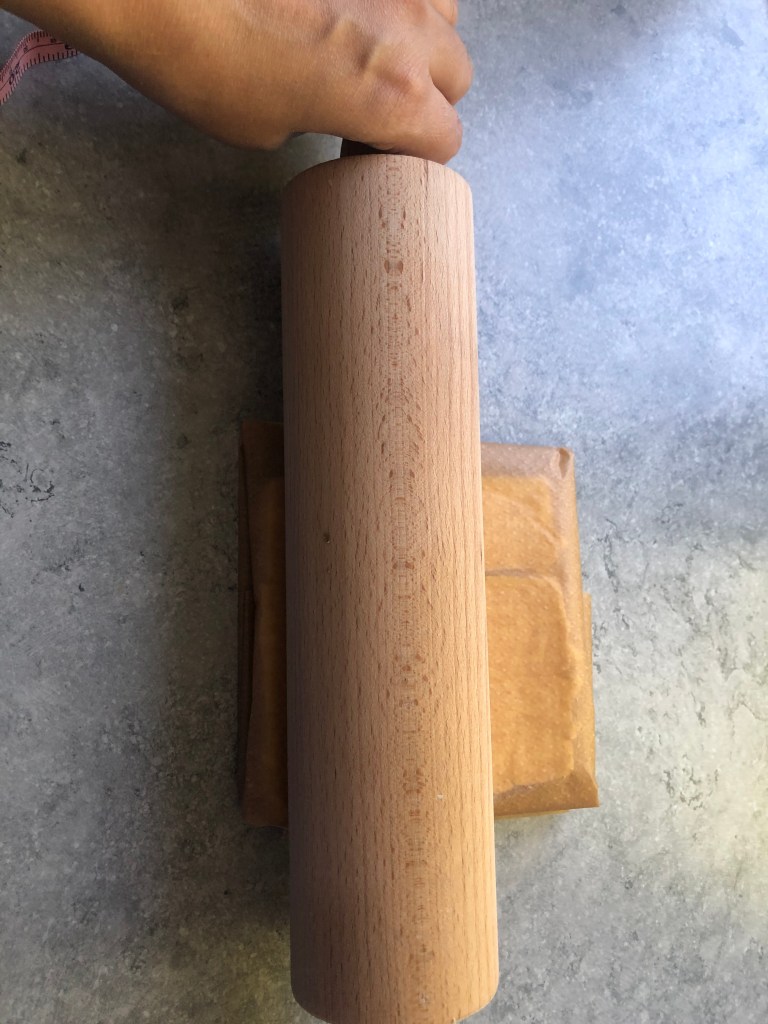
- Take a rolling pin and gently roll and flatten the dough ball to a 7”x7” sheet. Measure with a ruler.
- Wrap the butter paper over the dough in a square shape like an envelope fold. Make sure the dimensions of the butter paper are also 7”x7”.
- Take the rolling pin and roll the dough gently over the butter paper making sure the dough fills the curves of the butter paper. Do not press too hard with the rolling pin.
- Your dough covered in butter paper should look like a neat and proper square gift wrap.
- Place the dough in the fridge for 12 hours or overnight.


Day 2
Making the Beurrage
- Cut the even sized butter sticks measuring 140 gms. The butter should be chilled. It should not be soft and should not melt. If the butter is getting soft, keep it in a fridge. Once chilled, take it out.
- Take another sheet of butter paper and spread it on the marble top.
- Evenly layout the butter sticks in 4”x4” inch square box on the butter paper. Take the help of measuring tape and pen to mark the boundaries of the square.
- Cut the butter sticks if need be so that the entire 140 gms butter makes the 4”x4” square. Make sure the height of the butter sticks is even.
- Now, fold the butter paper over the butter like an envelope, making a square gift wrap. The size of the butter paper wrap should also be 4”x4” in size.
- Gently, press the butter with a rolling pin to make sure all the butter covers the edges of the butter paper.
- Your butter covered in a butter paper should look like a neat and proper square gift wrap.
- Place the beurrage in the fridge for 15-20 minutes to chill.

1st Layer
- Take the dough wrap out of the fridge and place it on the marble top.
- Dust the marble top with little flour.
- Take the dough out of the butter paper and place it on the dusted marble top.
- Take a rolling pin and start flattening the four corners of the dough square while gently and evenly flattening the dough in the middle also.
- The four ears of the square should be coming out slightly and the thickness of the dough should be even.
- Do not flatten the dough too much.
- Now, take out the butter wrap from the fridge and take the butter square out of the butter paper.
- Place the chilled butter square over the dough square.
- The butter square should be placed diagonally on the dough square, i.e., the corners of the butter square should be parallel to the sides of the dough square.
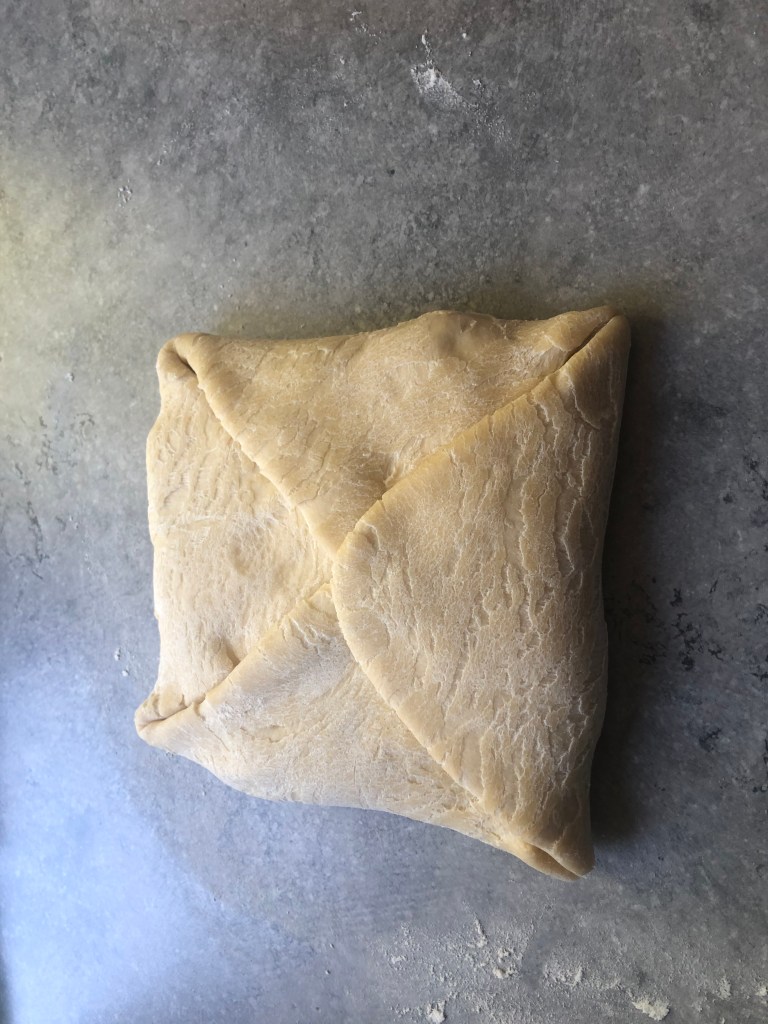
- Now, pick each elongated ear of the dough square and wrap the butter with four folds like a potli/envelope.
- It should again be a square form. Let it sit for a minute or two.


2nd Layer
- Gently press down the dough envelope with the rolling pin and start rolling the dough in the straight-long strokes. Do not roll along the width.
- The dough should now be a rectangle. Keep rolling straight till you get a rectangle of 18” length.
- Make use of the bread dough cutter to keep the dough in shape.
- Pick the dough from the lower end or from your end and fold it upwards till the 3/4th of the rectangle.
- Now, pick the dough from the other end and fold it till it touches the edges of the rolled-over dough.
- Wrap the dough in the butter paper and let it rest in the fridge for 1 hour.


3rd Layer
- After one hour, take the dough out of the fridge and out of the butter paper.
- Place the dough length-wise on the dusted marble top in front of you.
- Take the rolling pin and start rolling again gently and evenly in the long direction.
- Flatten the dough by going up and down with the rolling pin.
- Your rectangle should be 18” in length.
- Now, pick the dough from the lower end or from your end and fold it upwards till the middle of the rectangle.
- Pick the dough from the other end and fold it as it wraps over the lower end like a towel wrap.
- Wrap the dough in the butter paper and place it in the fridge for 12 hours or 1 day. If you are short of time, you can also take the dough out after 1 hour of resting time.

Day 3
4th and Final Layer
- After 12 hours or 1 day or 1 hour, take the dough out the fridge.
- Dust the marble top and take the dough out of the butter paper and place it on the marble top.
- Take the rolling pin and start rolling in all directions gently with more emphasis on the width. Measure with the measuring tape. The width of the rectangle should be 10”. And the entire dough should be evenly flattened and it should look more like a evenly flattened square.
- The length of the dough will determine the number of rolls in your croissants. If the length is more, you will have more rolls.
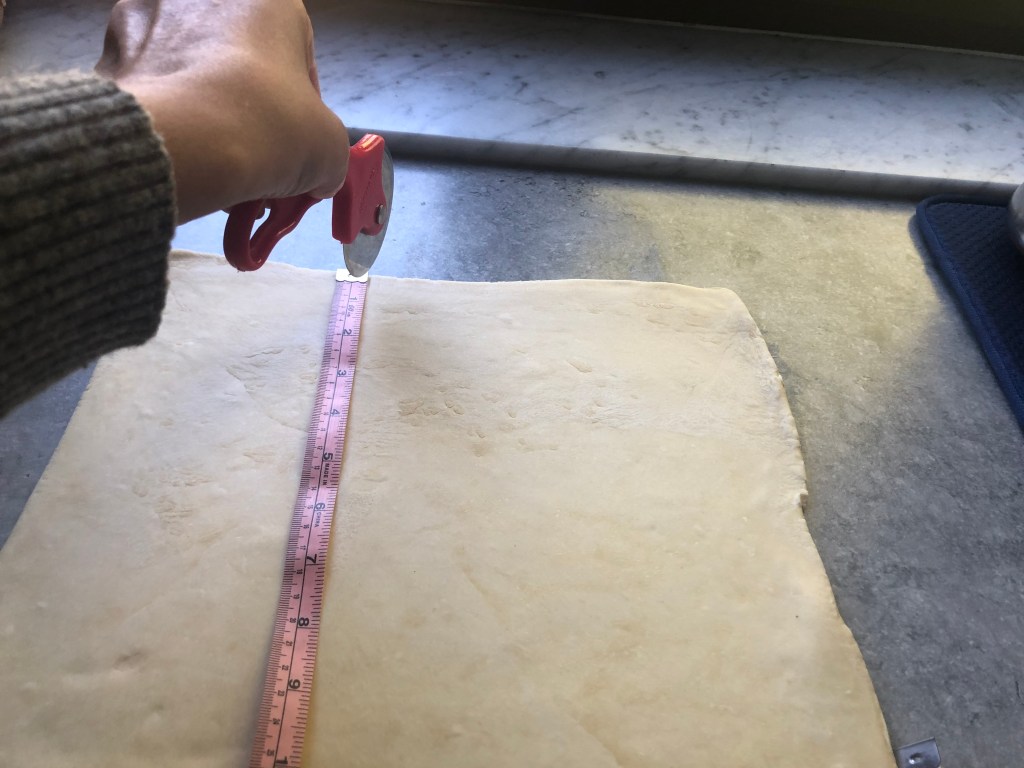
- Take the measuring tape and mark or slightly cut the edges on your side 4 and ½ inches apart.
- Using the same measuring tape as a ruler, mark the edges absolutely in the same line on the other side also. So, you should have marks on top and bottom of the dough sheet 4 and ½ inches apart exactly in the same vertical line.


Make the Croissants
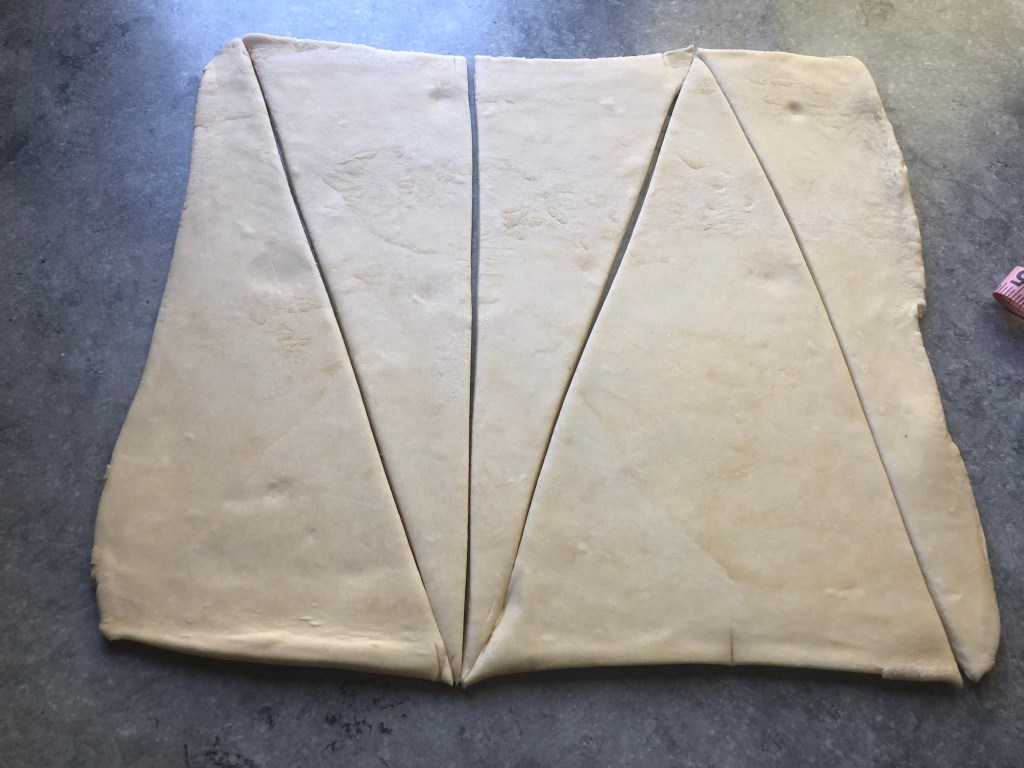
- Now, place the measuring tape diagonally from top edge to the bottom, i.e., from the top mark, you should go down towards the mark which is on the left or right of the mark. With the help of a pizza cutter, mark a diagonal cut.
- Similarly, from the lower end, go diagonally up towards the mark on the right side. You will end up making 6 triangles.
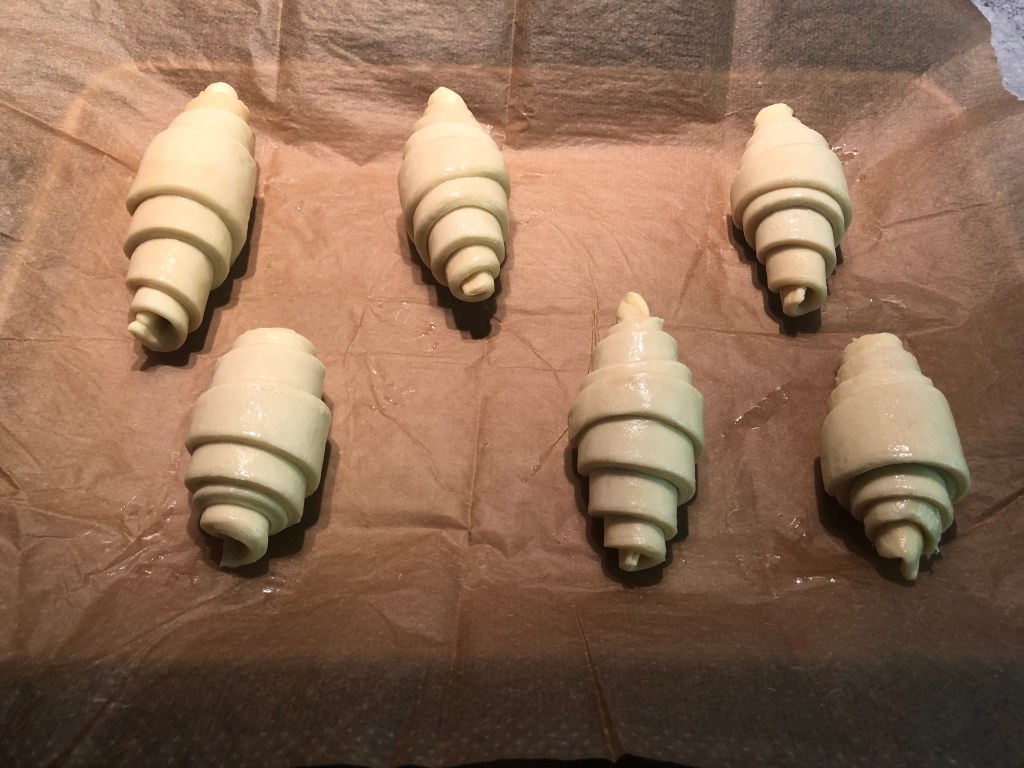
- Pick each triangle and with the help of the rolling pin, very lightly and gently, straighten out the triangle if required.
- Start rolling the croissant gently but firmly from the flat end of the triangle towards the tip of the triangle.
- Place the rolled croissants on the baking tray lined with a baking sheet.
- Brush the croissants with an egg wash (use white of an egg) gently.
Proof the Croissants
- Now, place the croissants in the oven with just the light on, i.e., at around 65°C for 2 hours for proofing. However, if your oven gets too hot with light on, just keep the croissants in the cold, closed oven for 2 hours for proofing.
Bake the Croissants
- After 2 hours, take out the croissants and give them another egg wash very gently. Do not over do the egg wash. Skip this step if the croissants have turned too soft to touch.
- Increase the temperature of the oven to 200°C and bake the croissants for 6-7 minutes.
- Then decrease the temperature of the oven to 165°C and bake the croissants for 15 minutes.
- After 15 minutes, take the croissants out and let them cool down completely.